
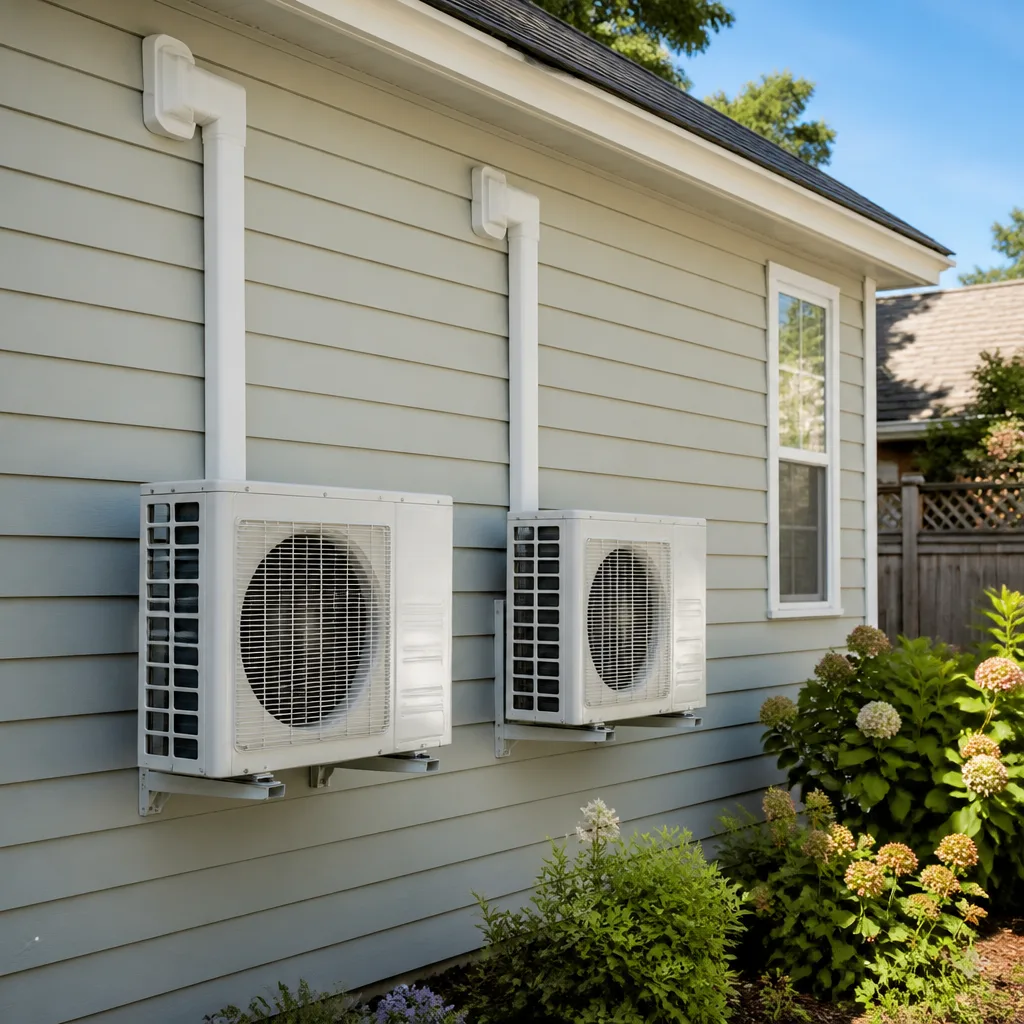
 Ductless mini splits
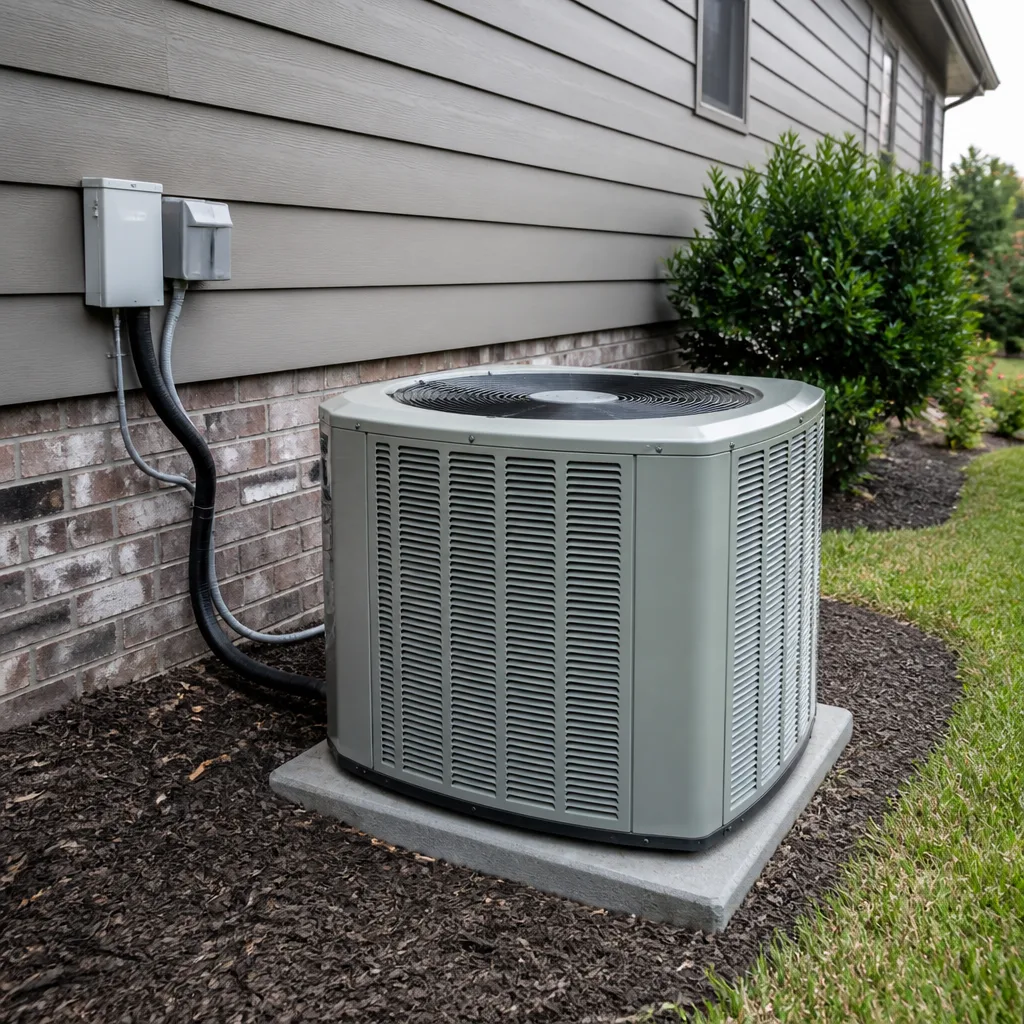 AC repair
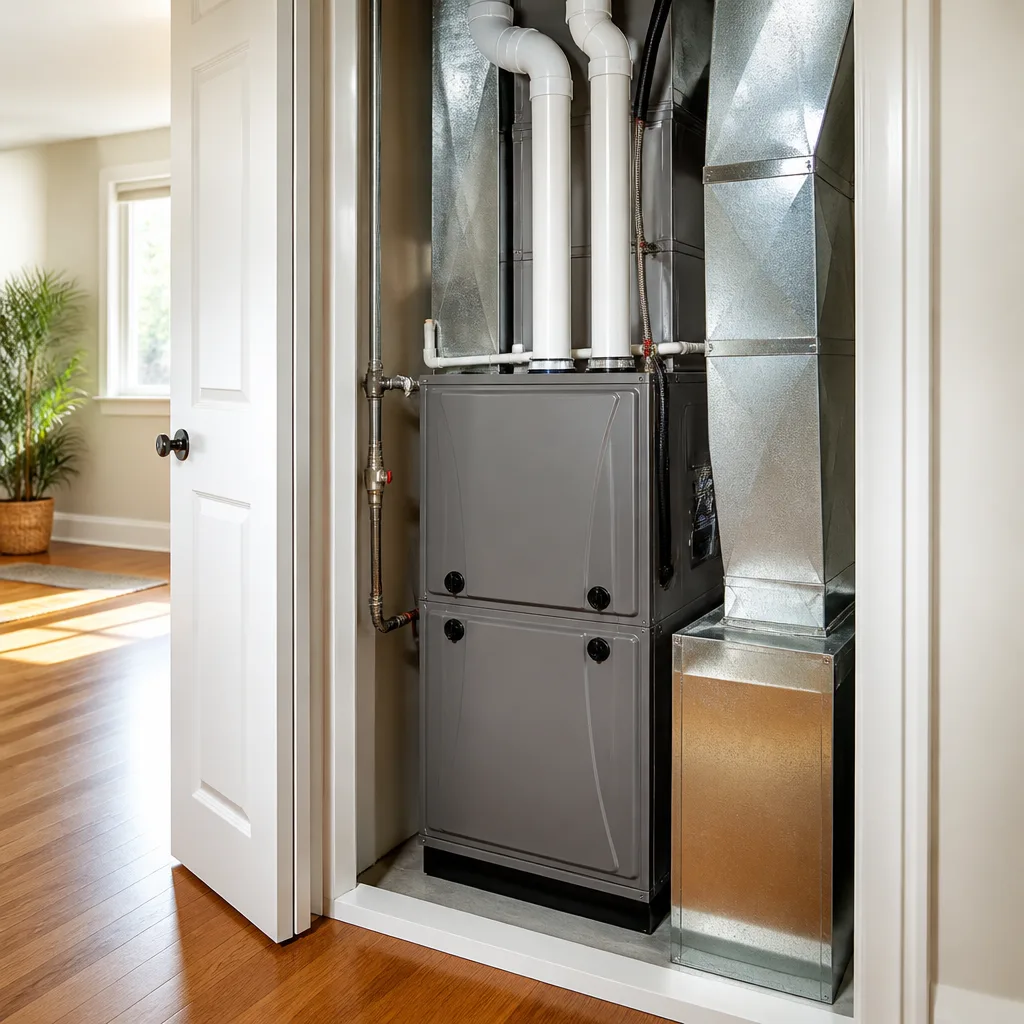 Furnace & heating
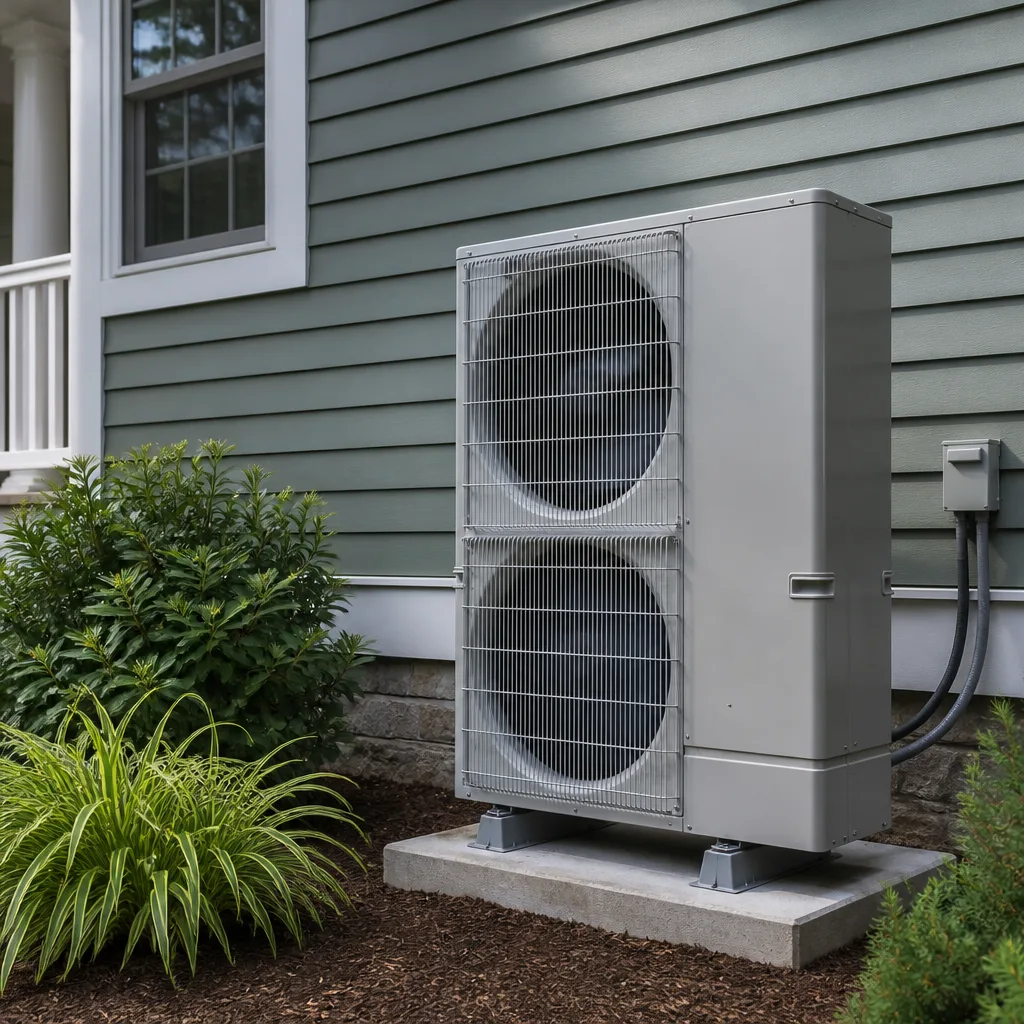 Heat pumps
 Carrier
 Trane
Trane Goodman
Seasonal tune-up and full diagnostic on your Carrier, Trane, or Goodman system - readings shown to you before any repair is proposed
Diagnosis first, numbers second - you approve the repair price before a single part goes in.
Get your free estimateCarrier Mini-Split Installation: The Austin Owner’s Guide
Carrier mini-split installation in Austin typically runs $3,500 to $7,500 depending on the system size, number of indoor heads, and how much line set work your home requires. We stock the most common Carrier-compatible mounting hardware, line sets, and electrical disconnects on our trucks, so most installations can be scheduled within a week of your estimate. When a Carrier mini-split installation fails, homeowners usually notice it three ways: the indoor unit sagging off the wall, refrigerant hissing near the flare connections, or condensate water dripping down interior drywall where the line set enters the house. All three point to the same root problem: an installation that was rushed, misaligned, or under-supported from day one.
Here’s what most Austin homeowners don’t realize until it happens to them: a mini-split is only as good as the hands that hung it. Carrier builds precise equipment. But the flare fittings, the drain slope, the torque on the refrigerant connections, the wall anchor selection, the electrical whip routing, the condensate pump wiring – every one of those is a field decision made by the installer. Get two of them wrong and you’ll be mopping water off your floor in July or paying for a refrigerant recharge every spring. We see it constantly in older Austin homes, especially in neighborhoods like Hyde Park, Crestview, and Allandale where owners added mini-splits to sunrooms, garage conversions, and ADUs that the original central system never reached.
This page covers exactly what we’ve learned replacing and correctly re-installing Carrier mini-splits across Austin, including what these systems actually cost, what fails first, and how to tell if your installation was done right in the first place.
Which Carrier Models This Applies To
Carrier splits its ductless lineup into two residential families: the Performance Series and the Infinity Series. The Performance Series includes the 38MHRC outdoor units paired with 40MHHC indoor heads – these are Carrier’s single-zone and multi-zone workhorses, ranging from 9,000 to 36,000 BTU. The Infinity Series, model 38MGRC outdoors with 40MGRC indoors, adds higher SEER ratings, quieter operation, and compatibility with Carrier’s Infinity wall controller. If you’re looking at a label, the outdoor unit model always starts with “38” and the indoor head starts with “40.” That’s the fastest way to confirm what you own.
But here’s the gotcha most people miss: Carrier mini-splits use metric flare fittings and specific line set sizing that does not always match what a previous installer left behind. A 12,000 BTU Performance Series head requires a 1/4-inch liquid line and a 3/8-inch suction line. A 24,000 BTU unit steps up to 3/8-inch and 5/8-inch. If someone previously ran the wrong diameter tubing, or reused an old flare nut that’s been over-torqued, you’ll get slow refrigerant loss that no recharge will ever permanently fix. The flare itself must be cut, reamed, and torqued to Carrier’s spec – 25 to 35 foot-pounds on the 3/8-inch fittings, 35 to 45 on the 1/2-inch. A flare that’s off by a hair leaks. A flare that’s over-tightened cracks. We’ve pulled apart Carrier units in Austin that were installed three different times by three different companies and still leaked because the original flare was never corrected.
Brandt HVAC Co Austin is an independent service provider, not affiliated with Carrier. We do stock OEM Carrier parts where they matter most – controller boards, fan motors, and sensors. For installation-specific hardware like wall brackets, line set insulation, and drain line components, we use OEM Carrier kits whenever available and quality aftermarket equivalents when they match or exceed the original spec. We’re transparent about which is which before we quote you a price.
We also stock parts for Trane and Lennox ductless systems, since plenty of Austin homes have mixed-brand setups.
Styles & brands we work with
Signs Your Carrier Mini-Split Installation Is Failing
A failed installation usually announces itself in one of five ways. Each one points to a different error made during the original work:
- Condensate water running down your wall or pooling on the floor. This is the most common failure and it’s almost always the drain line. Either the line wasn’t sloped correctly, the drain was undersized, or the condensate pump wasn’t wired to the correct terminal. In Austin humidity, a mini-split can pull a gallon of water out of the air every hour. A slow drip becomes a drywall repair in a week.
- The indoor head sags forward or separates from the wall. Someone used drywall anchors where they needed lag bolts into a stud, or they mounted the bracket to a surface that can’t hold the weight. A 12,000 BTU Carrier head weighs close to 25 pounds. When it sags, the drain pan tilts and water backs up into the unit.
- Refrigerant hissing or oil residue at the flare connections behind the indoor head. A proper flare is a one-time mechanical joint. If it’s leaking, the flare face is scratched, misaligned, or over-torqued. Adding refrigerant without cutting and re-flaring the joint is throwing money at a hole. We fix the joint, then recharge to Carrier’s spec, which is measured in ounces, not “topped off.”
- The unit short-cycles: it runs for ten minutes, shuts off, runs again. In multi-zone systems, this is often a wiring mismatch – the installer crossed communication wires between zones, so the outdoor unit can’t read the indoor heads correctly. Carrier’s communicating systems send data, not just power, through those wires. A crossed pair confuses the logic board.
- Ice forming on the coil in summer. Low refrigerant from a leaky flare, or a clogged air filter that’s starving the coil of airflow. Low refrigerant on a mini-split almost never means “needs a top-off” – it means there’s a leak that needs to be found and fixed first.
If you’re seeing any of these, the original installation work is the likely culprit, not the Carrier equipment. The equipment is engineered well. The install is where it went wrong.
See the difference
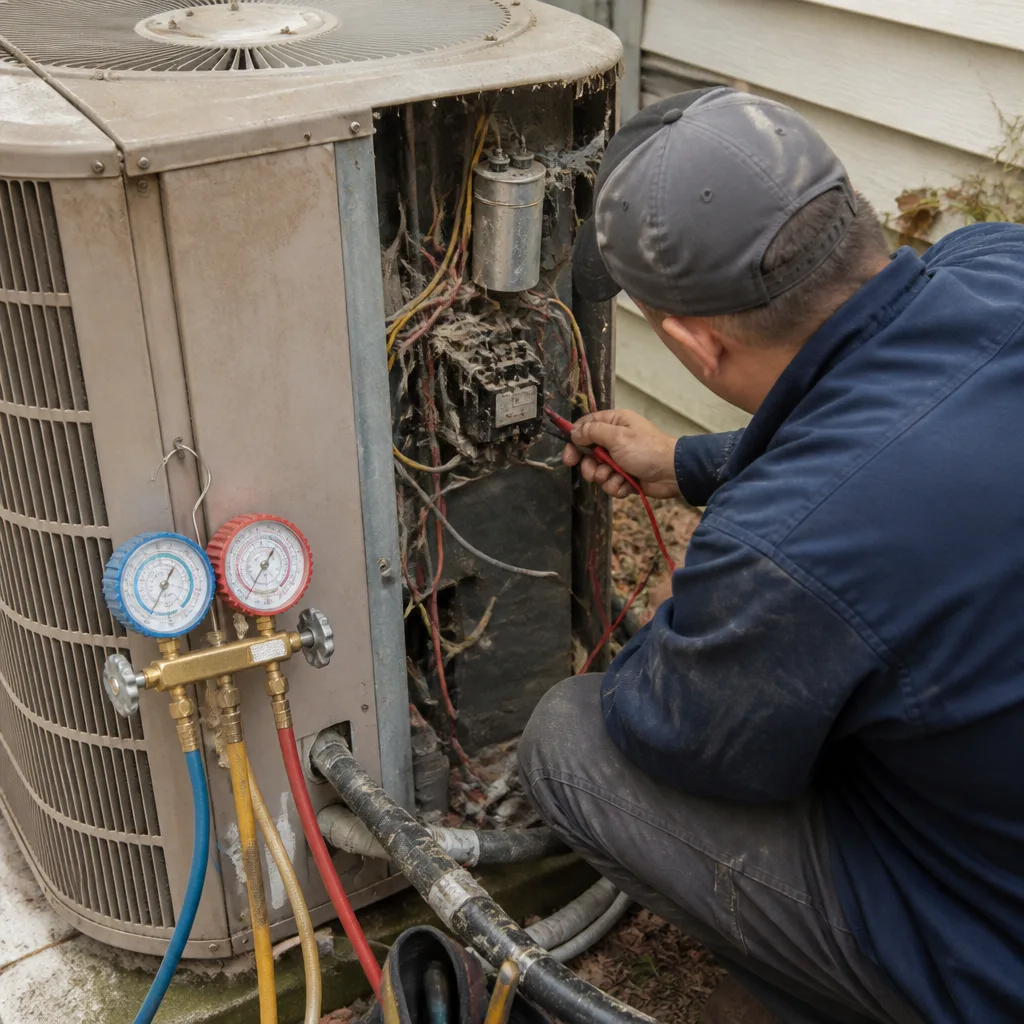 Before
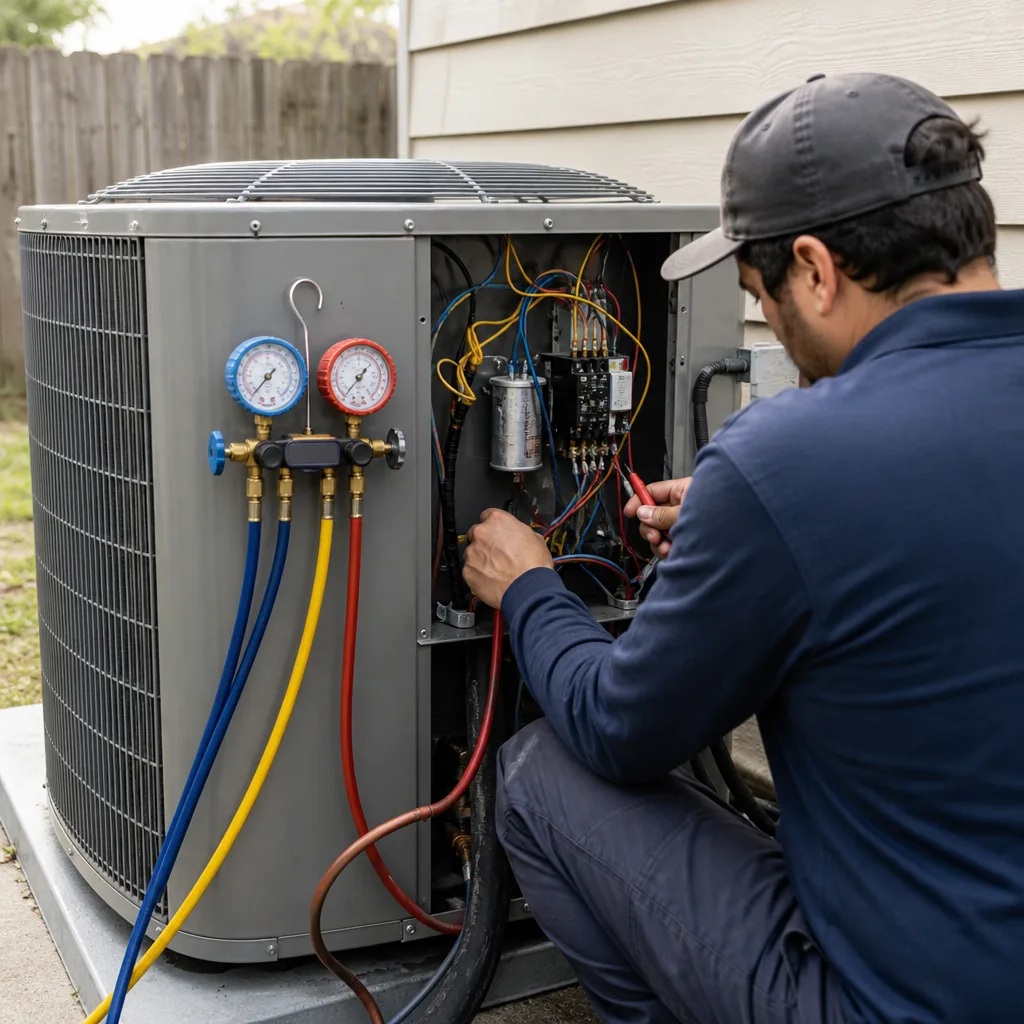 After
After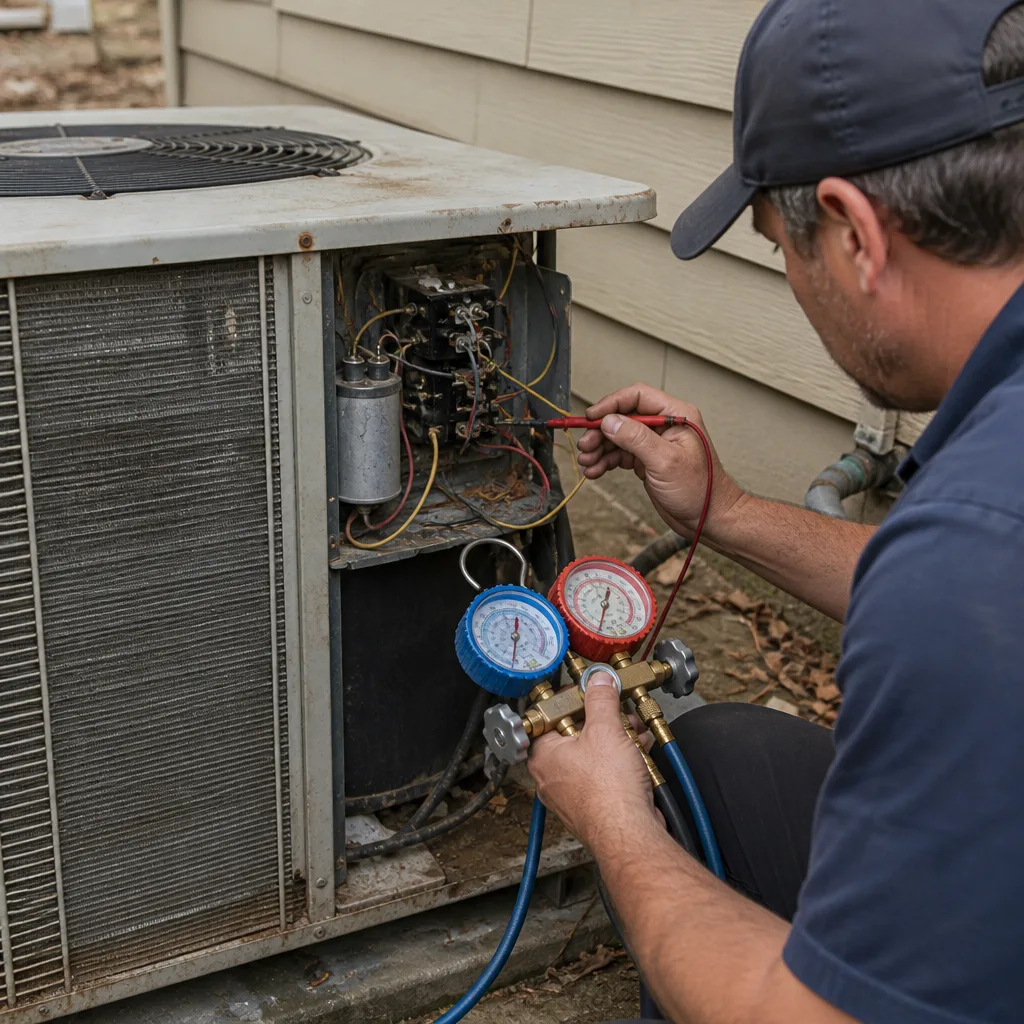 Before
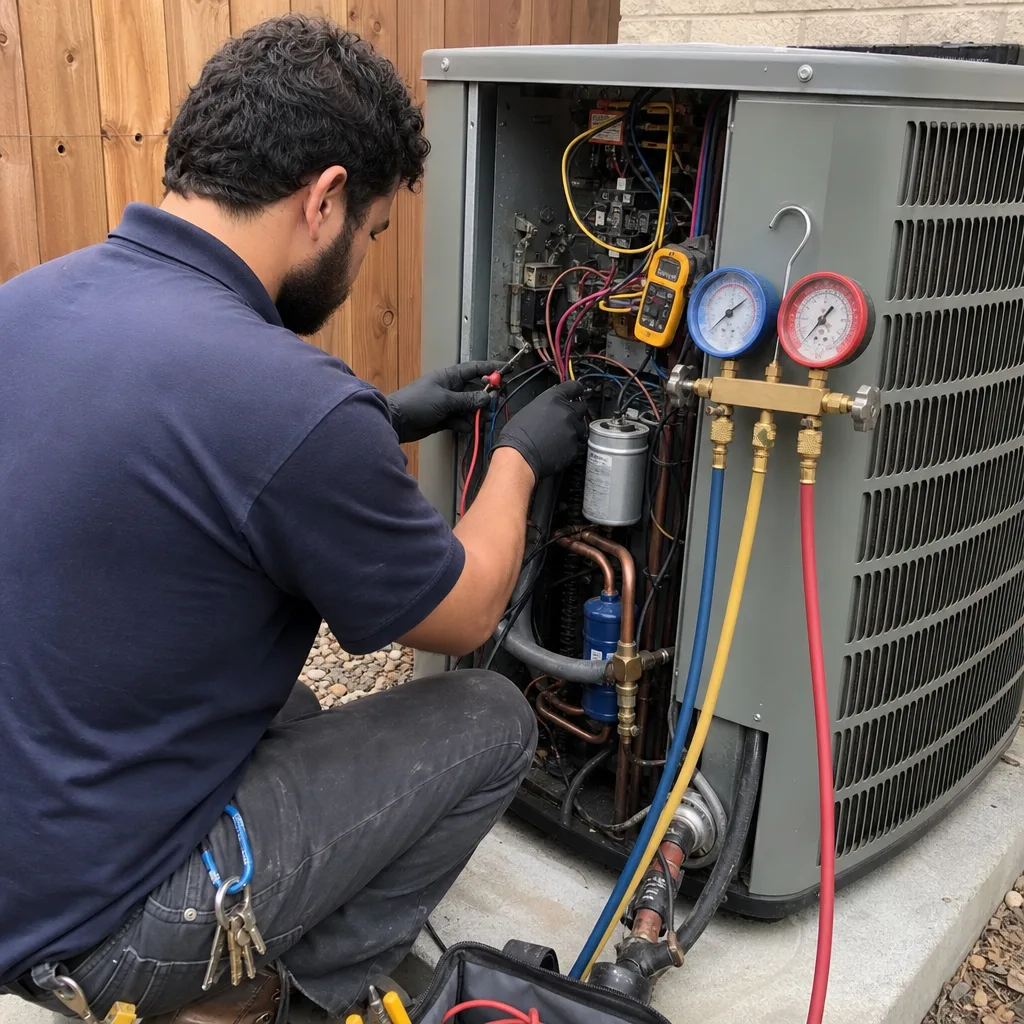 After
After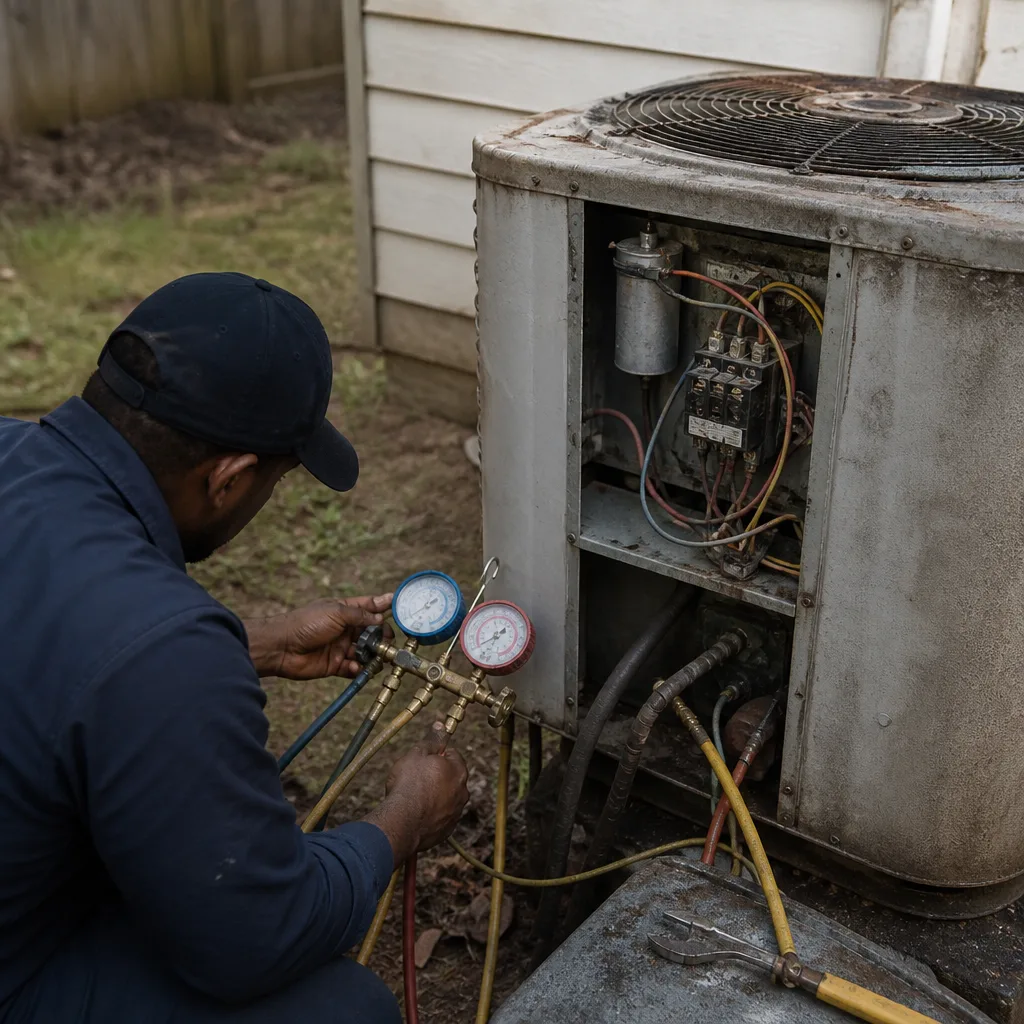 Before
 After
AfterReplacement Cost & What’s Included
A full Carrier mini-split installation in Austin typically falls between $3,500 and $7,500. Here’s what actually moves the price:
| Scope of Work | Typical Austin Price Range |
|---|---|
| Single-zone 12,000 BTU, straightforward wall mount, short line set | $3,500 – $4,800 |
| Single-zone 18,000 – 24,000 BTU, longer line set or ceiling cassette | $4,500 – $6,000 |
| Multi-zone system, 2 – 3 indoor heads, one outdoor unit | $5,500 – $7,500 |
| Re-install of an existing Carrier unit (remove, re-flare, re-mount, correct drain) | $800 – $2,200 |
What that includes matters. Our written price covers the equipment, the line set, the electrical disconnect and whip, the wall bracket or floor stand, the condensate drain routing, vacuum testing to below 500 microns, and a full charge weighed to Carrier’s factory spec. It also includes a written guarantee on the work. If the installation fails within the guarantee period, we return at no charge under our 365-Day Done Right Promise. No re-diagnosis fee, no argument.
The single biggest price driver in Austin is line set distance. Older homes with thick limestone walls or crawlspace obstacles force longer, more complex runs. We price that honestly up front, in writing, before any work starts. You’ll know the exact number before we unload a single tool.
DIY or Call Us?
Mini-split installation involves line voltage wiring, refrigerant under pressure, and a system that will run your home’s cooling for a decade. This is not a weekend project. The refrigerant side is genuinely dangerous: R-410A operates at several hundred PSI, and a flare connection that’s cut wrong can vent refrigerant fast enough to freeze-burn skin. The electrical side carries 240 volts. The drain side will quietly destroy your drywall if it’s off by half an inch.
What you can safely do yourself: check that the air filter is clean, confirm the outdoor unit isn’t surrounded by leaves or overgrown Austin vegetation, and look at whether the indoor head is level and secure. If it’s sagging, hissing, or dripping – make the call then. Every day a leaking flare runs is a day of refrigerant loss and compressor wear.
Call (361) 326-1553 and we’ll come out, look at the full install, and tell you exactly what’s wrong and exactly what it costs to fix – in writing, before we start.
FAQs
A properly installed Carrier mini-split should run 12 to 15 years in Austin’s climate without major component failure, though the outdoor unit takes real punishment from Central Texas heat and will work harder than the same unit would in a milder climate. The installation itself – the flares, the drain, the mounting – should last the life of the equipment if it was done correctly the first time. If you’re seeing failures within a few years, that’s an installation problem, not a Carrier problem. Call (361) 326-1553 and we’ll tell you which one you’re dealing with.
Usually, yes. A sagging head gets re-mounted with proper wall anchors, a leaking flare gets cut and re-flared with a proper torque wrench, a mis-sloped drain gets re-routed. We only recommend replacement when the original work caused compressor damage that makes repair money wasted. The honest answer is sometimes “this needs a full re-do” and sometimes it’s “we can fix this in a couple of hours.” You’ll get the same written quote either way.
We’re in and out in half a day for most single-zone re-install or new installation jobs. Multi-zone systems with three heads or complex line set routing can take a full day. We schedule a firm arrival window, send you the technician’s name and photo before we show up, and they’ll have a photo ID badge at the door. You’ll meet who’s coming before they’re on your porch.
Yes. Our trucks carry the most common Carrier-compatible wall brackets, flare nuts, line set insulation, drain components, and electrical hardware we need for typical Austin residential installs. If your job needs a specialty component or an OEM Carrier part that isn’t truck-stocked, we source it and give you a timeline before we schedule the work. No surprises, no “we’ll see what we have when we get there.”
Devin Marlowe has been running HVAC calls across Austin long enough to know that a Carrier mini-split installed wrong in April will make itself known by August. We name the problem, name the price, and then we fix it – no surprises after the fact. If your unit is dripping, sagging, hissing, or short-cycling, call (361) 326-1553 for a free estimate. The phone is answered by a live person, 24/7, because nobody should have to leave a voicemail about water running down their wall.
Written by Devin Marlowe, Owner, Brandt HVAC Co Austin at Brandt HVAC Co Austin, serving Austin and nearby areas.