
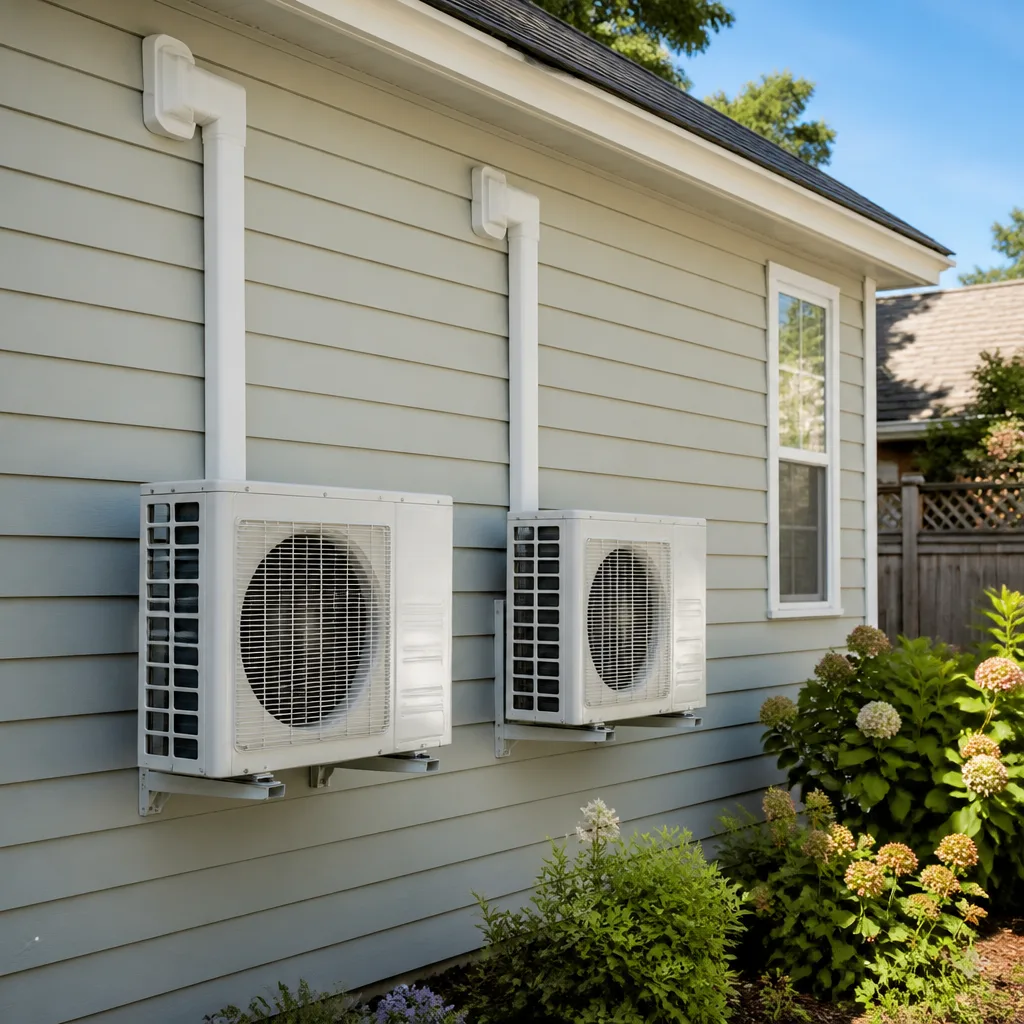
 Ductless mini splits
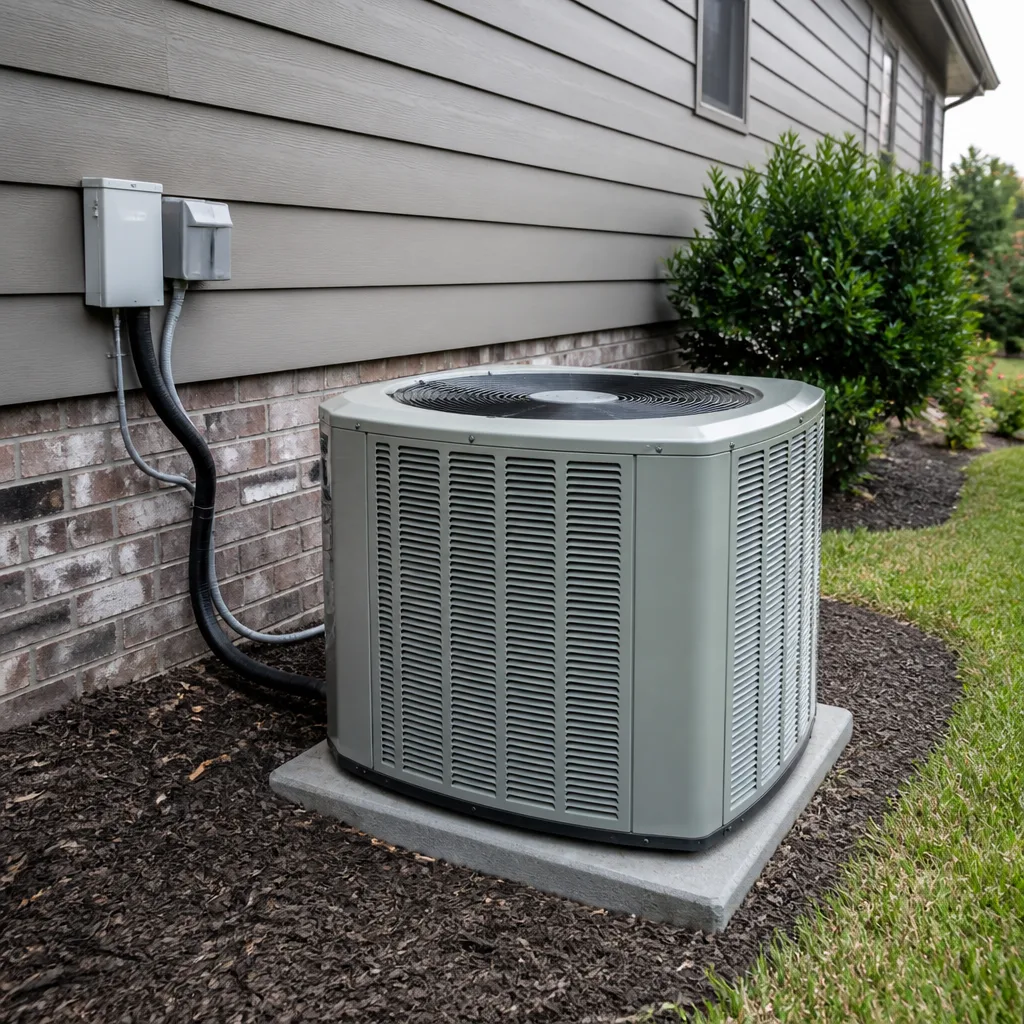 AC repair
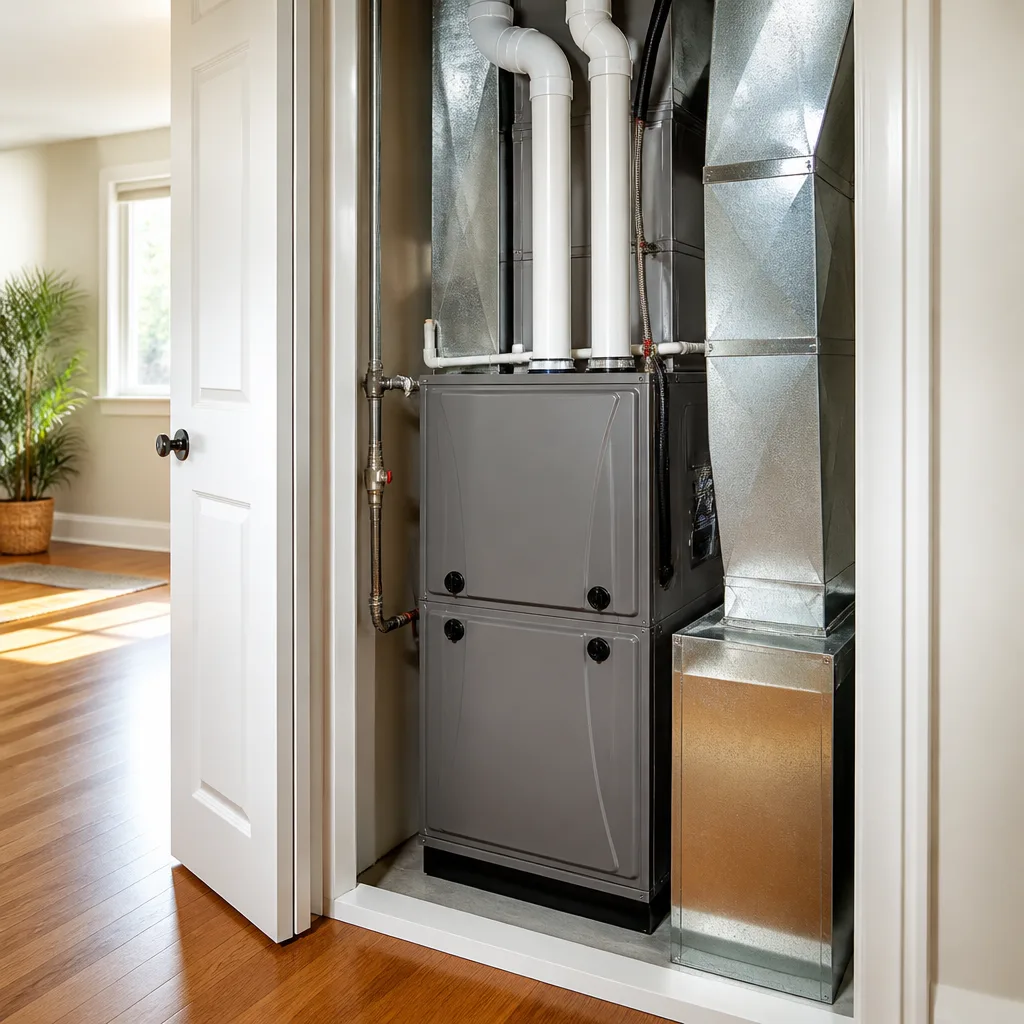 Furnace & heating
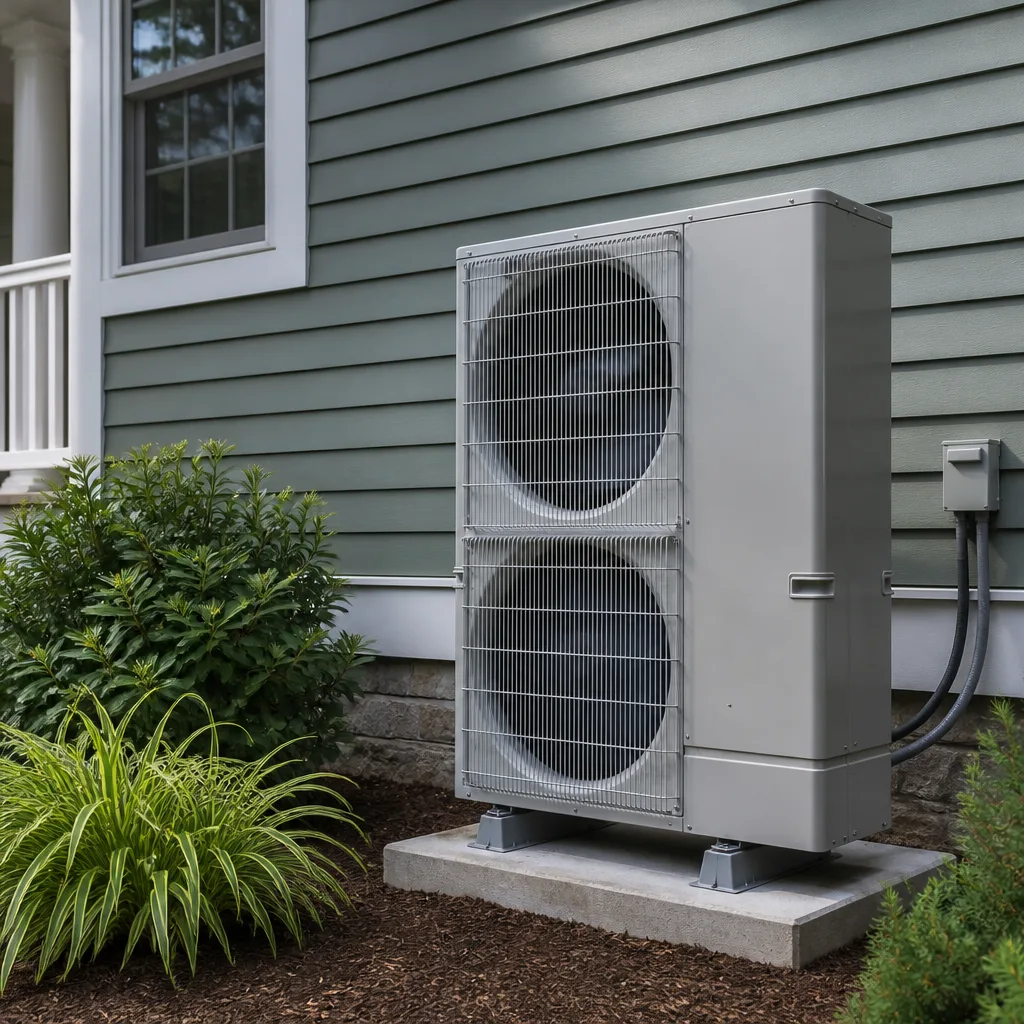 Heat pumps
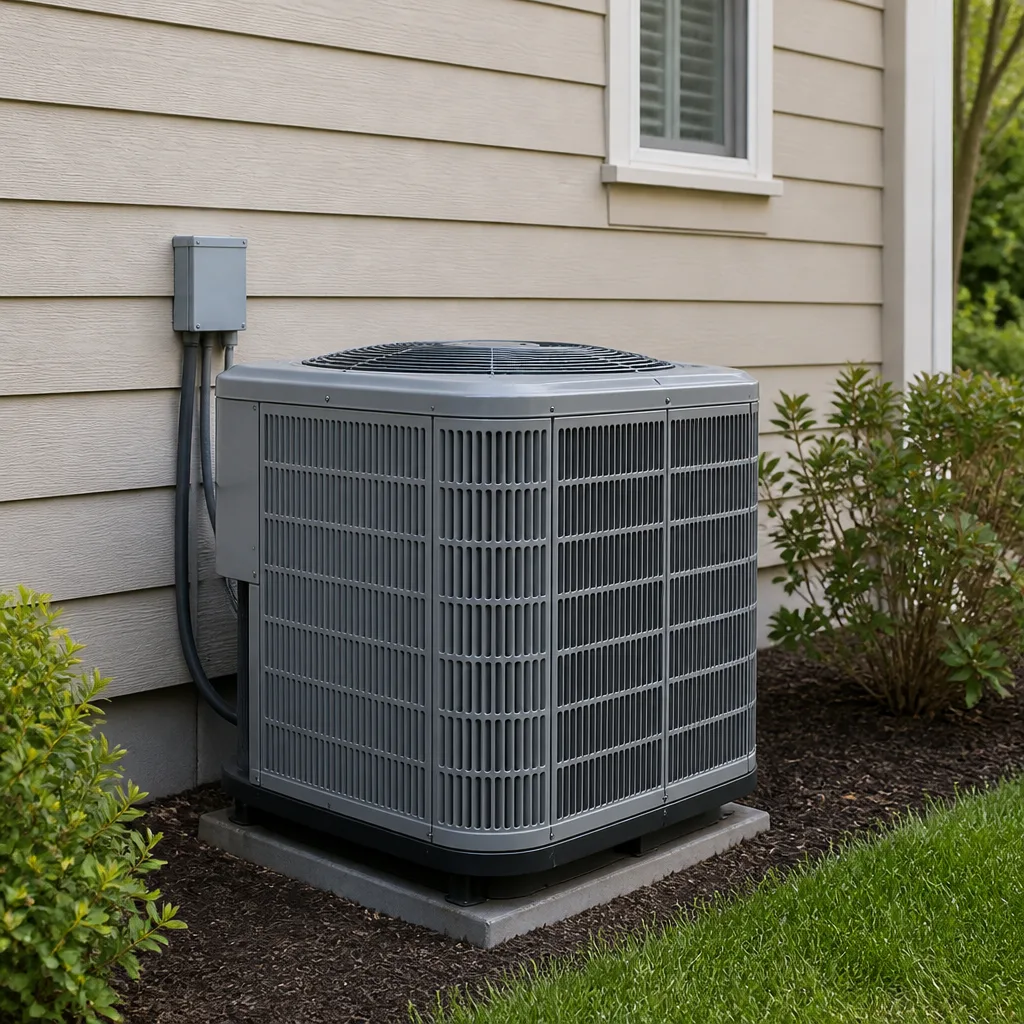 Carrier
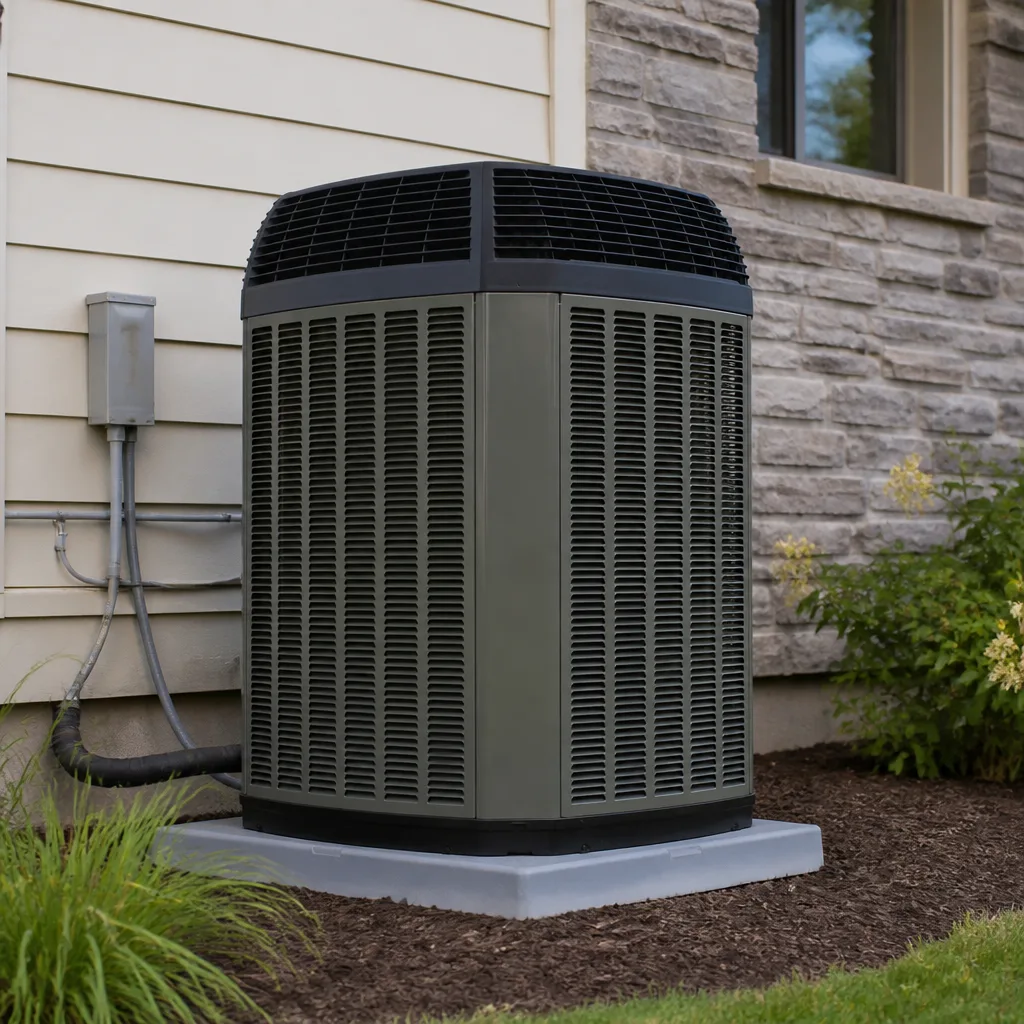 Trane
Trane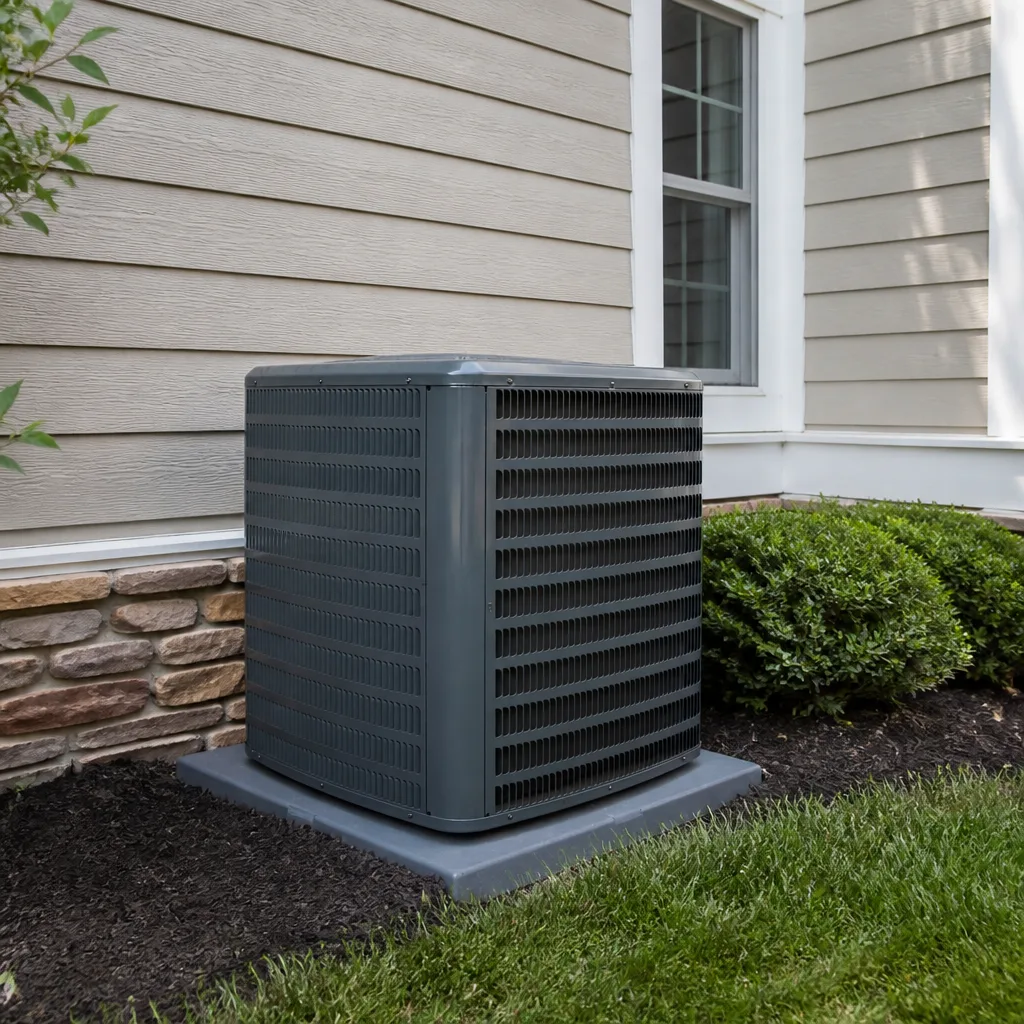 Goodman
Seasonal tune-up and full diagnostic on your Carrier, Trane, or Goodman system - readings shown to you before any repair is proposed
Diagnosis first, numbers second - you approve the repair price before a single part goes in.
Get your free estimateDaikin Mini-Split Installation: The Austin Owner’s Guide
Daikin mini-split installation in Austin typically runs $3,500 to $7,500 for a single-zone system, depending on the unit’s BTU rating and whether your existing line set can be reused. That’s the honest range we quote in writing before any work starts. Most homeowners discover they need a new install the hard way: a compressor that quit in July, a refrigerant leak that keeps coming back, or a system that never cooled right from day one.
We stock Daikin-specific installation parts and install them the same day in most cases. If your existing mini-split was installed by someone who cut corners on the flare connections or undersized the line set, you already know how Central Texas heat punishes a marginal install. Devin Marlowe has pulled apart enough failed systems across Austin to tell you exactly what failed and why before we touch a wrench.
Key takeaways:
- Written price before any work starts, every time.
- We install Daikin-compatible equipment and are not affiliated with Daikin as a brand.
- 365-Day Done Right Promise: if it fails, we return at no charge.
- Live person answers the phone 24/7 at (361) 326-1553.
Which Daikin Models This Applies To
This page applies to Daikin’s residential mini-split lines: the Aurora series, Emura, Atmosphera, and the 17 Series and 19 Series wall-mount units. It also covers the multi-zone outdoor condenser pairings in the 2MXS and 3MXS lines. If your unit is a ceiling cassette or slim-duct model, the same installation approach applies, but the mounting hardware and drain configuration differ.
To identify your exact part match, look at the data plate on the side of the outdoor condenser. The model number starts with an R or FTX prefix followed by a number like 09, 12, 18, or 24. That number tells you the BTU class. A 12,000 BTU Daikin in a 400-square-foot South Austin sunroom is a very different install than a 24,000 BTU multi-zone serving two bedrooms and a hallway. Getting this wrong is the single most common reason a Daikin system underperforms: not because the unit is bad, but because someone matched the wrong capacity to the load.
For Daikin specifically, we recommend OEM parts for the refrigerant-sensitive components: expansion valves, flare nuts, and the line set itself. The aftermarket flare nuts we see on some Austin installs are machined a few thousandths loose, and a hair of slop in a flare joint is a refrigerant leak waiting to happen. For non-critical hardware like mounting brackets and drain tubing, quality aftermarket equivalents are fine and can save real money without touching reliability.
Styles & brands we work with
Signs Your Daikin Mini-Split Installation Is Failing
- Refrigerant leak within the first year. This almost always traces back to a flare connection that was over-tightened or under-tightened at install. Daikin systems ship with factory-flared connections; a technician who re-flares them without a torque wrench is guessing.
- Unit short-cycles in the afternoon heat. In Austin’s late-July load, an undersized line set or a condenser mounted too close to a wall can make the compressor trip its thermal limit repeatedly. The system cools for ten minutes, shuts off, then kicks back on.
- Water dripping down the wall instead of out the drain line. This means the drain pan or drainage tubing was pitched wrong at install. Over time it soaks drywall and grows mold where you can’t see it.
- Compressor failure within a few seasons. Daikin’s inverter-drive compressors are reliable when they get the right voltage, clean refrigerant, and proper airflow. They die young when a previous install left moisture or non-condensables in the line set.
- You can feel cold air at the flare connections. Run your hand along the insulated line set where it connects to the outdoor unit. Any chilled spot outside the insulation means refrigerant is escaping there, and every month you wait costs you efficiency and system life.
See the difference
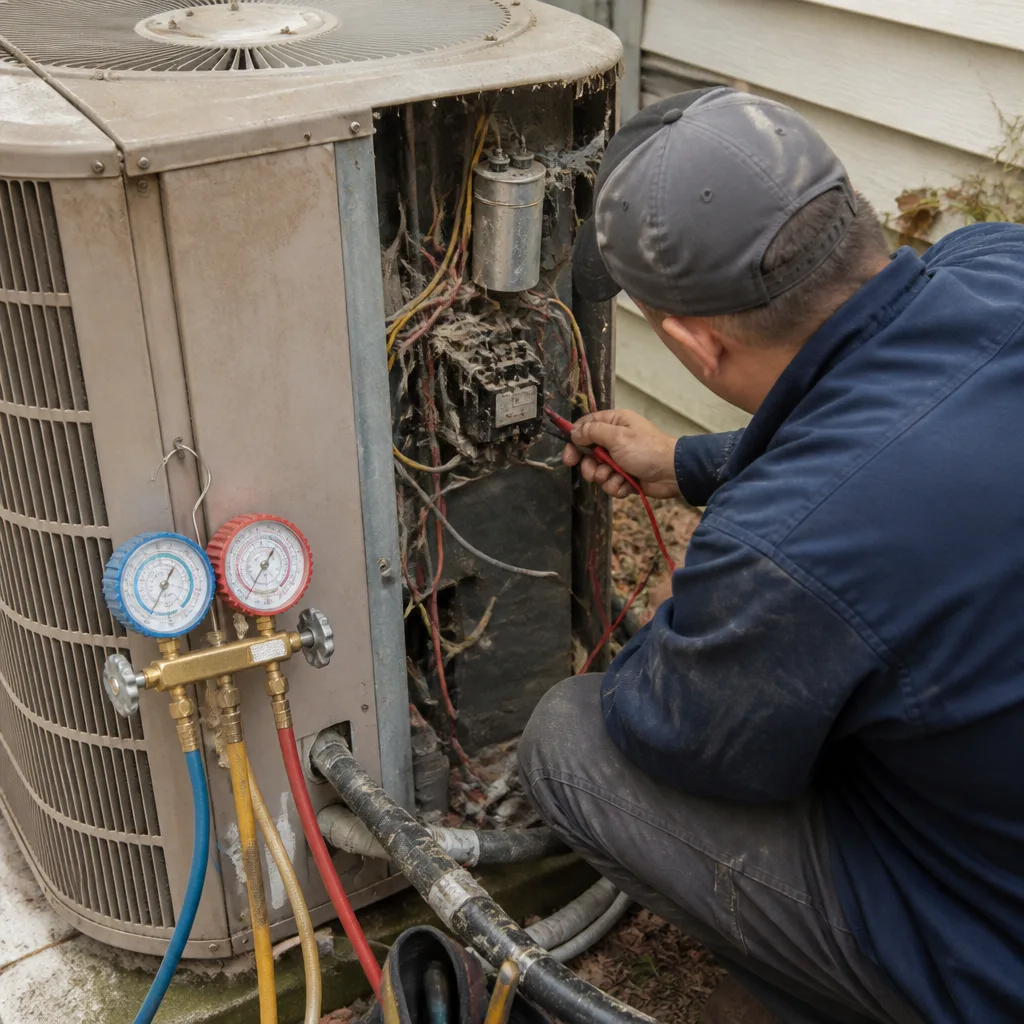 Before
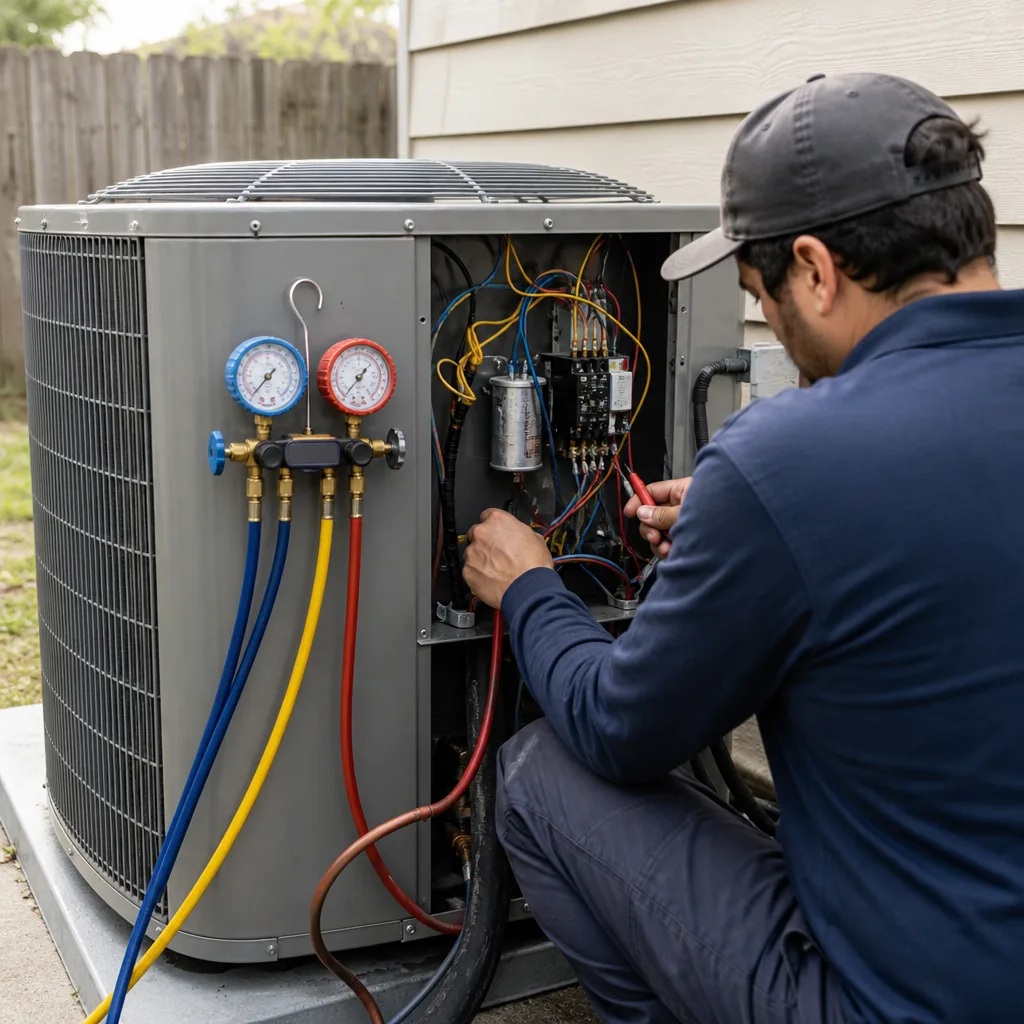 After
After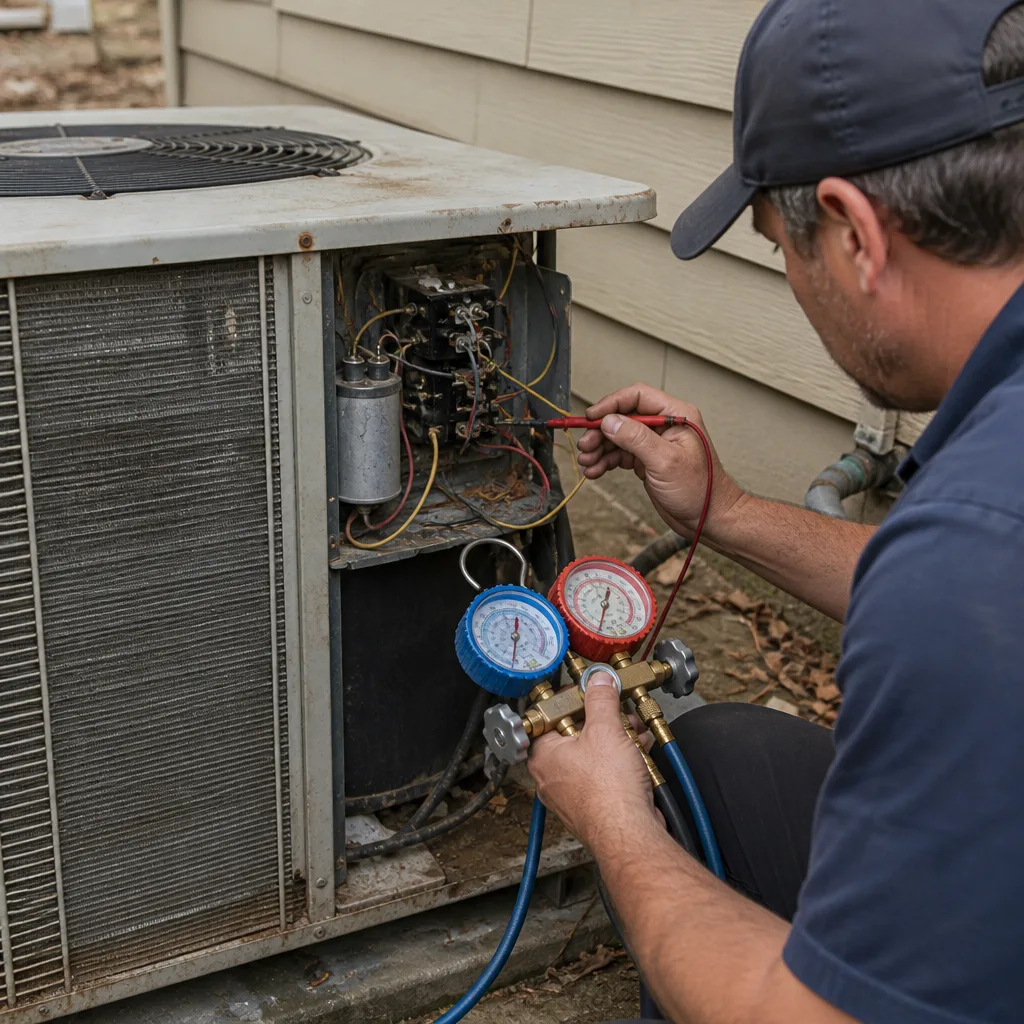 Before
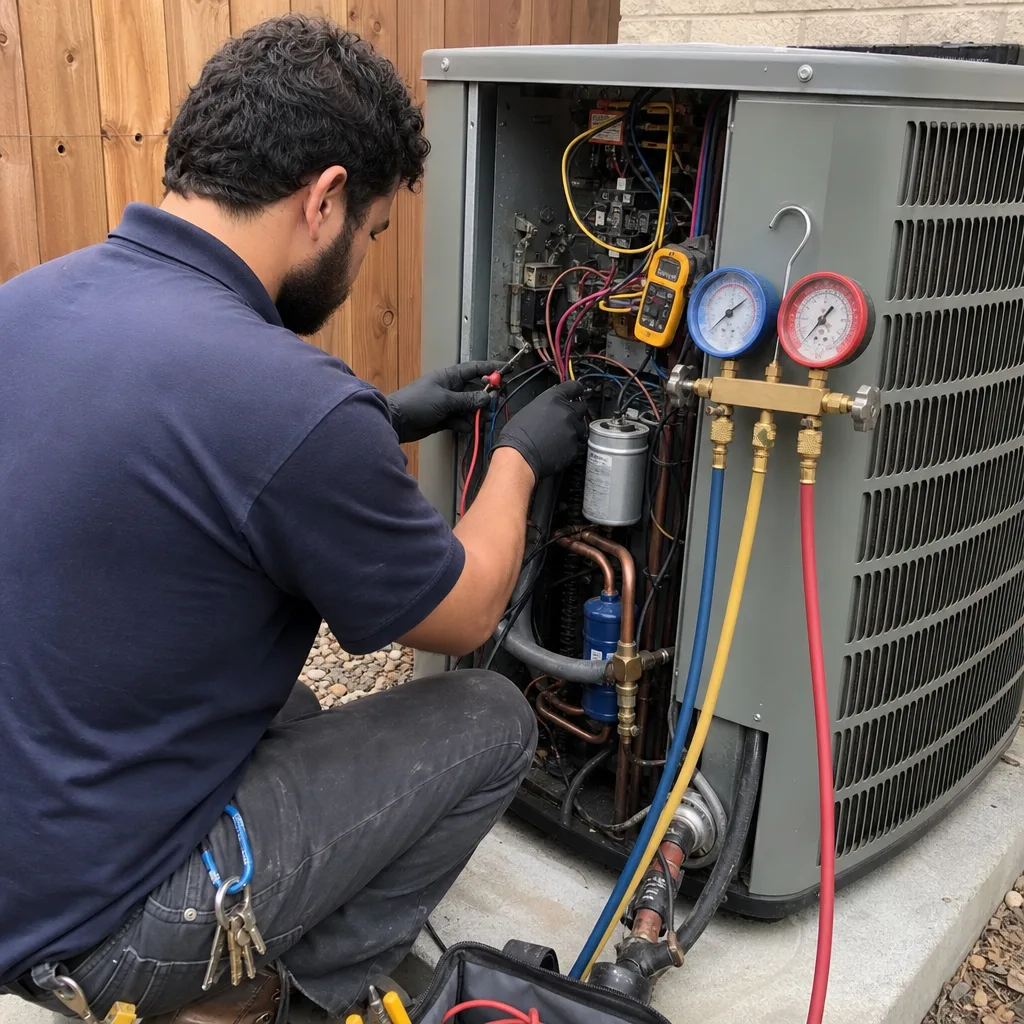 After
After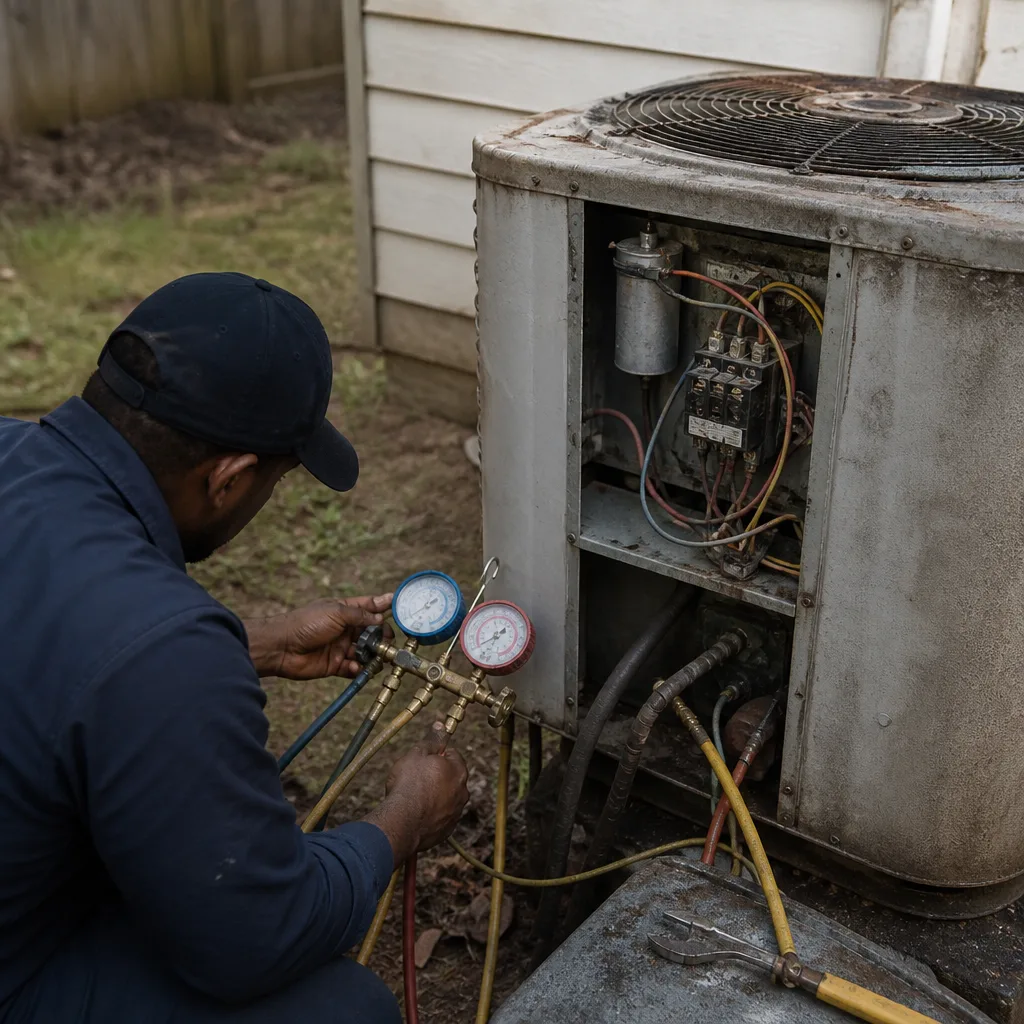 Before
 After
AfterReplacement Cost & What’s Included
A full Daikin mini-split installation in Austin lands between $3,500 and $7,500 for a single-zone system. The spread depends on these factors:
- BTU class: A 9,000 BTU unit with a short line run costs less than a 24,000 BTU multi-zone with branch boxes.
- Line set length and routing: A 15-foot lineset through an exterior wall is simple. A 60-foot run through a two-story attic in Tarrytown is not, and the copper plus labor adds up.
- Electrical work: If your panel has open breaker slots and the condenser sits near the service entry, you are looking at a straightforward disconnect install. An older home in Hyde Park with a full panel needs a sub-panel or breaker consolidation, which costs more.
- Condenser pad and mounting: Ground-mount on composite pads versus wall-hung brackets that span brick.
Every quote we write includes the equipment, line set, drainage, electrical disconnect, pad or bracket, refrigerant charge, and system commissioning with a written report of measured temperatures and pressures. The work is guaranteed for 365 days under our Done Right Promise. If a flare joint leaks or a drain line backs up inside that year, we return at no charge. No prorating, no argument.
DIY or Call Us?
We will give you a straight answer: a mini-split install is not a do-it-yourself job. It involves high-voltage electrical work at the disconnect, refrigerant handling that requires an EPA Section 608 certification, and a vacuum pump to evacuate the line set before charging. Skipping the evacuation is how compressors die within two seasons, and that is a real safety and cost risk, both.
What you can safely do is check the basics: confirm the breaker is on, clean the washable plastic filters, and make sure the outdoor unit is not buried in leaves or boxed in by storage. If the system is leaking, short-cycling, or tripping the breaker, call (361) 326-1553. We will send a background-checked, uniformed Daikin-experienced technician to your door with a photo ID and a name you already know before they arrive. That is the Threshold Verified standard, and we built this company on it.
We name the problem, name the price, and then we fix it – no surprises after the fact.
FAQs
A properly installed Daikin mini-split averages 15 to 18 years in Austin, though the inverter compressor often outlasts the fan motors and control board that see the hardest thermal cycling. The key variable is the quality of the original install: proper evacuation, correct flare torque, and clean electrical feed add years you can measure.
Yes, and we will tell you honestly when a repair is the better call. A $400 control board replacement on a seven-year-old system makes sense. A compressor replacement on a 14-year-old system in a rented condo may not, especially when the evaporator coil is also losing efficiency. Call (361) 326-1553 and we will give you our straight read.
A single-zone install with a straightforward line run takes us one full day from mounting bracket to final commissioning report. A multi-zone system or a long lineset through finished ceilings can run two days. You will know the exact schedule in writing before we start.
We stock common Daikin installation components on every truck: flare nuts, line set insulation, drain tubing, disconnect boxes, and mounting hardware. For model-specific parts like a Daikin OEM expansion valve or a special branch box for multi-zone systems, we source from our Austin supply partners usually same-day or next morning.
Written by Devin Marlowe, Owner, Brandt HVAC Co Austin at Brandt HVAC Co Austin, serving Austin and nearby areas.